Want to support our hard work? Subscribe to our channel!
You’ve invested in what we believe is one of the best electric scooters available, the NAMI BURN-E 2 MAX, but to ride it like a pro, you’re going to have to set it up like a pro.
The NAMI BURN E 2 MAX electric scooter, fresh out of the box, arrives with noticeably less compression damping than NAMI’s first electric scooter. As such, if you’re a heavier rider, we suggest you add more spring preload to keep your e-scooter from bottoming out on jumps.
Not sure how? Well, you’re in luck.
We’re going to show you how to set up your NAMI BURN-E2 electric scooter, for the absolute best handling, ride comfort and high speed stability.
Here’s exactly what you need to do to set up your NAMI electric scooter for the ultimate riding mode.
Tools
- The NAMI spring tool, OR
- A pair of ¾” hose pliers (link in the description)
- The Allen wrench set that comes with the NAMI BURN-E 2 MAX electric scooter
- And a small socket set.
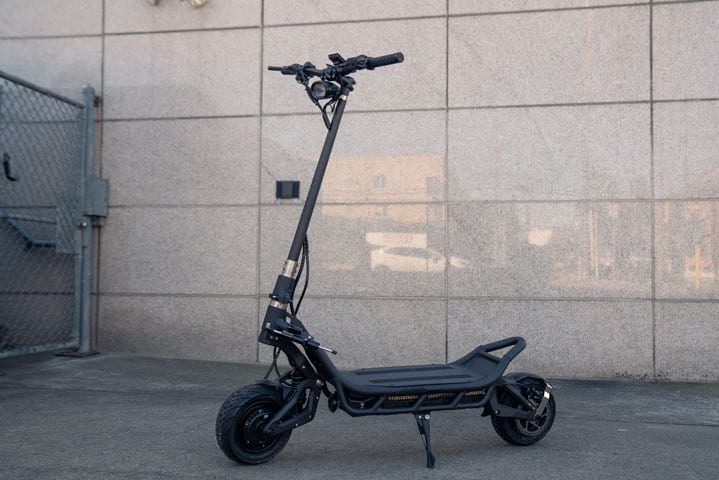
Set Up + Settings – Professional Guide – NAMI BURN-E 2 MAX
Total Time: 4 minutes
How to Adjust the Hydraulic Shocks
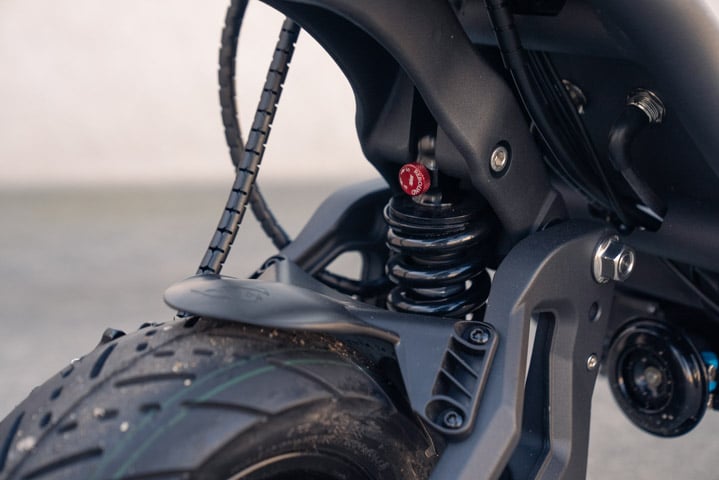
NAMI BURN-E 2 MAX electric scooters come with two-way adjustable 165 mm hydraulic shocks made by KK/E.
You can adjust the springs to keep the electric scooter from bottoming out. Plus, depending on your preference, you can change the hydraulic damping from soft and bouncy, to firm and not bouncy at all.
We should point out that if you’re watching our video OUR shocks – the red damping-adjuster-knobs – are labeled backward.
When you’re adjusting yours, trust us – turning them to the right makes shocks firmer, and to the left to make them softer.
Best Damping Settings

On both of our NAMIs, we found the best damping settings for front and rear shock were to turn the red adjuster knobs all the way to the right, and then back them out by one full click.
To test it, press on the suspension and let it rise.
You want to see the suspension take about ½ a second to return to full height. This is going to help the electric scooter feel smooth and calm when you’re riding it over bumps.
Off road damping settings
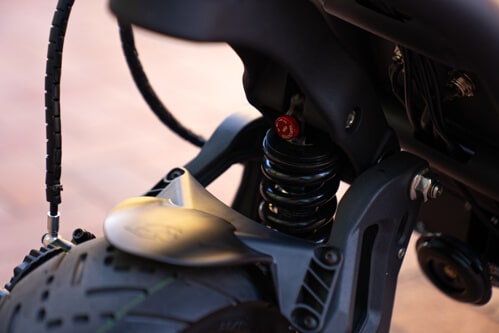
For off-road riding, the suspension on your NAMI needs to move more freely, so in that case turn the adjusters all the way to the right, and then back them off by 2 to 3 clicks.
How to Improve High Speed Stability
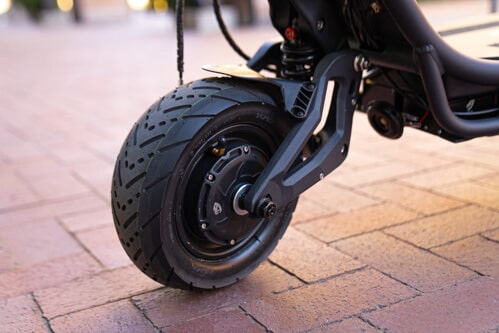
Next, we’re going to show you a trick that improves the high-speed stability on your NAMI. It involves adding preload to the front spring.
If you watch the video, you’ll see Paul, ESG’s Hardware Program Manager, adjusting his NAMI.
To give you an example of how much preload you’ll want to add, Paul weighs 165 lbs, and he’s adding two additional turns of preload to the front spring.
If you weigh a similar amount, after you’ve added preload, you should see a total of 4 to 5 threads showing below the adjuster on the front shock.
To add preload, use the NAMI tool or the hose pliers to turn the spring counterclockwise, as viewed from above. It’s a little tricky, but trust us, this trick works.
For riders over 220 lbs, add an additional turn so that 5 to 6 total threads are showing after adding preload.
Why do you Need to Add Preload?

Adding preload to the front end relative to the rear, gives the electric scooter slightly more rake, smoother steering and more stability, like a cruiser motorcycle.
Conversely, less rake gives you quicker, more-twitchy steering. It’s a tiny change in geometry, but you can really feel the difference at high speeds.
Adding preload to the front end is a must-do if you own one of the early NAMI electric scooter models, as they didn’t come with steering stabilizers.
Thankfully, newer NAMI BURN-E 2 scooters come with an adjustable steering damper. But even with the damper installed, our BURN-E 2 still benefited from adding spring preload as described above.
It’s totally your call, but if you want improved ride quality, this is an easy way to deliver better performance.
How to Set up Your Steering Damper

To set up your damper, first make sure it’s mounted correctly and everything is tight, including the lock nuts under the gooseneck.
To do this, loosen the nuts slightly, then tighten the Allen bolts. Finally, hold the Allens bolts still while tightening the lock nuts.
Then, install the two bolts to mount the damper. The front one just screws in, but the rear one gets a lock-nut on the bottom.
Then, make sure you’ve got your steering damper centered and clamp it down.
When you’re done, you should be able to steer an equal amount to the left and right before hitting the end of travel.
Setting the Steering Damper Adjuster

Once you’re all set, turn the steering damper’s adjuster all the way to the left and then go 7 clicks to the right. We found this was the best setting during our 49 mile range test.
But you can set it wherever feels best for you.
Bear in mind that setting it too tight will make the scooter slowly wander from left to right when you’re trying to go straight at a constant speed, whereas too little damping will make the scooter feel less stable at top speed.
How to Set the Best Tire Pressure
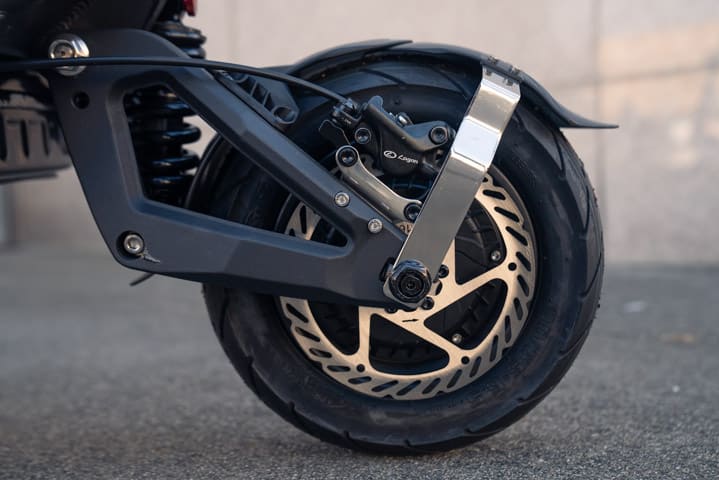
Our final suggestion is to set your NAMI BURN-E 2 electric scooter’s tire pressure at 45 psi.
We always use NAMI’s specified pressure during our testing. Saying that, you’ll get more range and top speed at the specified 50 psi, however, we found 45 psi feels better and will give you better handling and braking.
It’s the best compromise between range and performance.
That’s it – your NAMI BURN E 2 is set for the best possible ride.
Have a great ride, and let us know your favorite ride settings in the youtube Video comments.
NAMI BURN E 2 MAX Electric Scooters Setup Summary
If you need an at-a-glance set up summary for your NAMI settings, here’s all you need to know to improve your scooter’s ride quality:
Shock Absorbers
Rebound damping: full right minus one-click = 15 out of 16 clicks to the right
Front Spring Preload
< 220 lbs 4 to 5 threads showing
>200 lbs 5 to 6 threads showing
Rear Spring Preload
Leave as it comes (typically 2 – 3 threads showing)
Steering Damper
All the way to the left, +7 clicks to the right
Make sure steering can turn equally far to left and right.
Tire Pressure
45 psi for best balance of range, handling and braking
50 psi for best range and top speed
For more technical guidance, speak directly to experts and enthusiasts from the scooter community in ESG Forums.
