If you’re unboxing the latest Kaboo Mantis V2 electric scooter from Fluid Freeride, then you need to watch this video of Paul, our Hardware Program Manager, demonstrating the Kaabo Mantis V2 unboxing and set-up guide.
In this video, we talk you through how to set up your new electric scooter so you can ride like a pro from the outset.
We also share with you the latest updates and additions Kaabo have made to the Mantis V2.
Prefer to read? Then carry on.
Kaabo Mantis v2
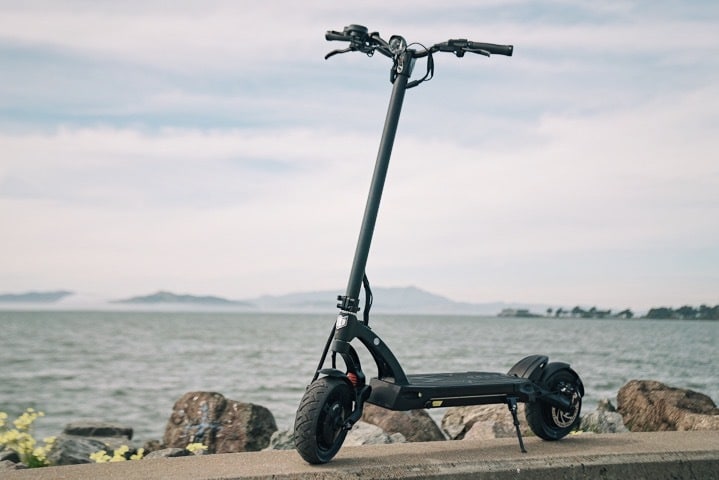
The Kaabo Mantis V2 Fluid Edition retails for $1,699, and is (in our opinion) the best Mantis yet out of all the scooters they make.
While the base level price guides may have you thinking this is a base model, it isn’t.
With a top speed of 40 mph, a range of 33 miles on a single charge, and weighing in at just 65 lbs, this is one of the most lightweight, high-performance scooters we’ve reviewed.
- It’s faster
- Has better acceleration
- And has hydraulic brakes that are better than the Kaabo Mantis Pro Se, the VSETT, every Dualtron, the Apollo Phantom – the list goes on…
Bottom line, the Kaabo Mantis V2 has excellent build quality and is great value for money – you should be super excited to open your box.
But first, what should you expect to find in the box?
Inside the Box
In your box, you should have the usual stuff:
- The power cord
- An extended fender
- A charger
- The Kaabo badge
- A tool kit.
Pro tip – Invest in your own dedicated scooter tools because while the tool kit that comes in the box is good for setting your scooter up initially, over time the tools will round off and you could end up stripping out the heads of screws on your scooter.
And you don’t need that.
Setting up the Handlebars on Your New Electric Scooter
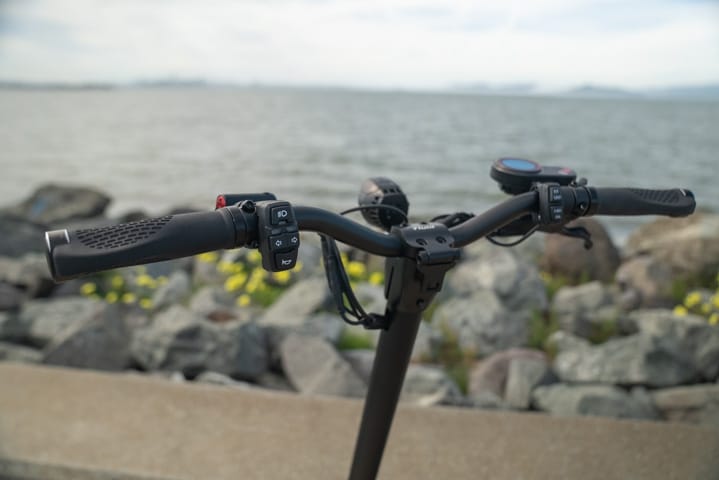
Before you lift the scooter out of the box, you’re going to want to unfold it and set up the handle bars.
Unscrew the cap on the top of the stem, place the handle bars into the stem and put the screws back into the slots.
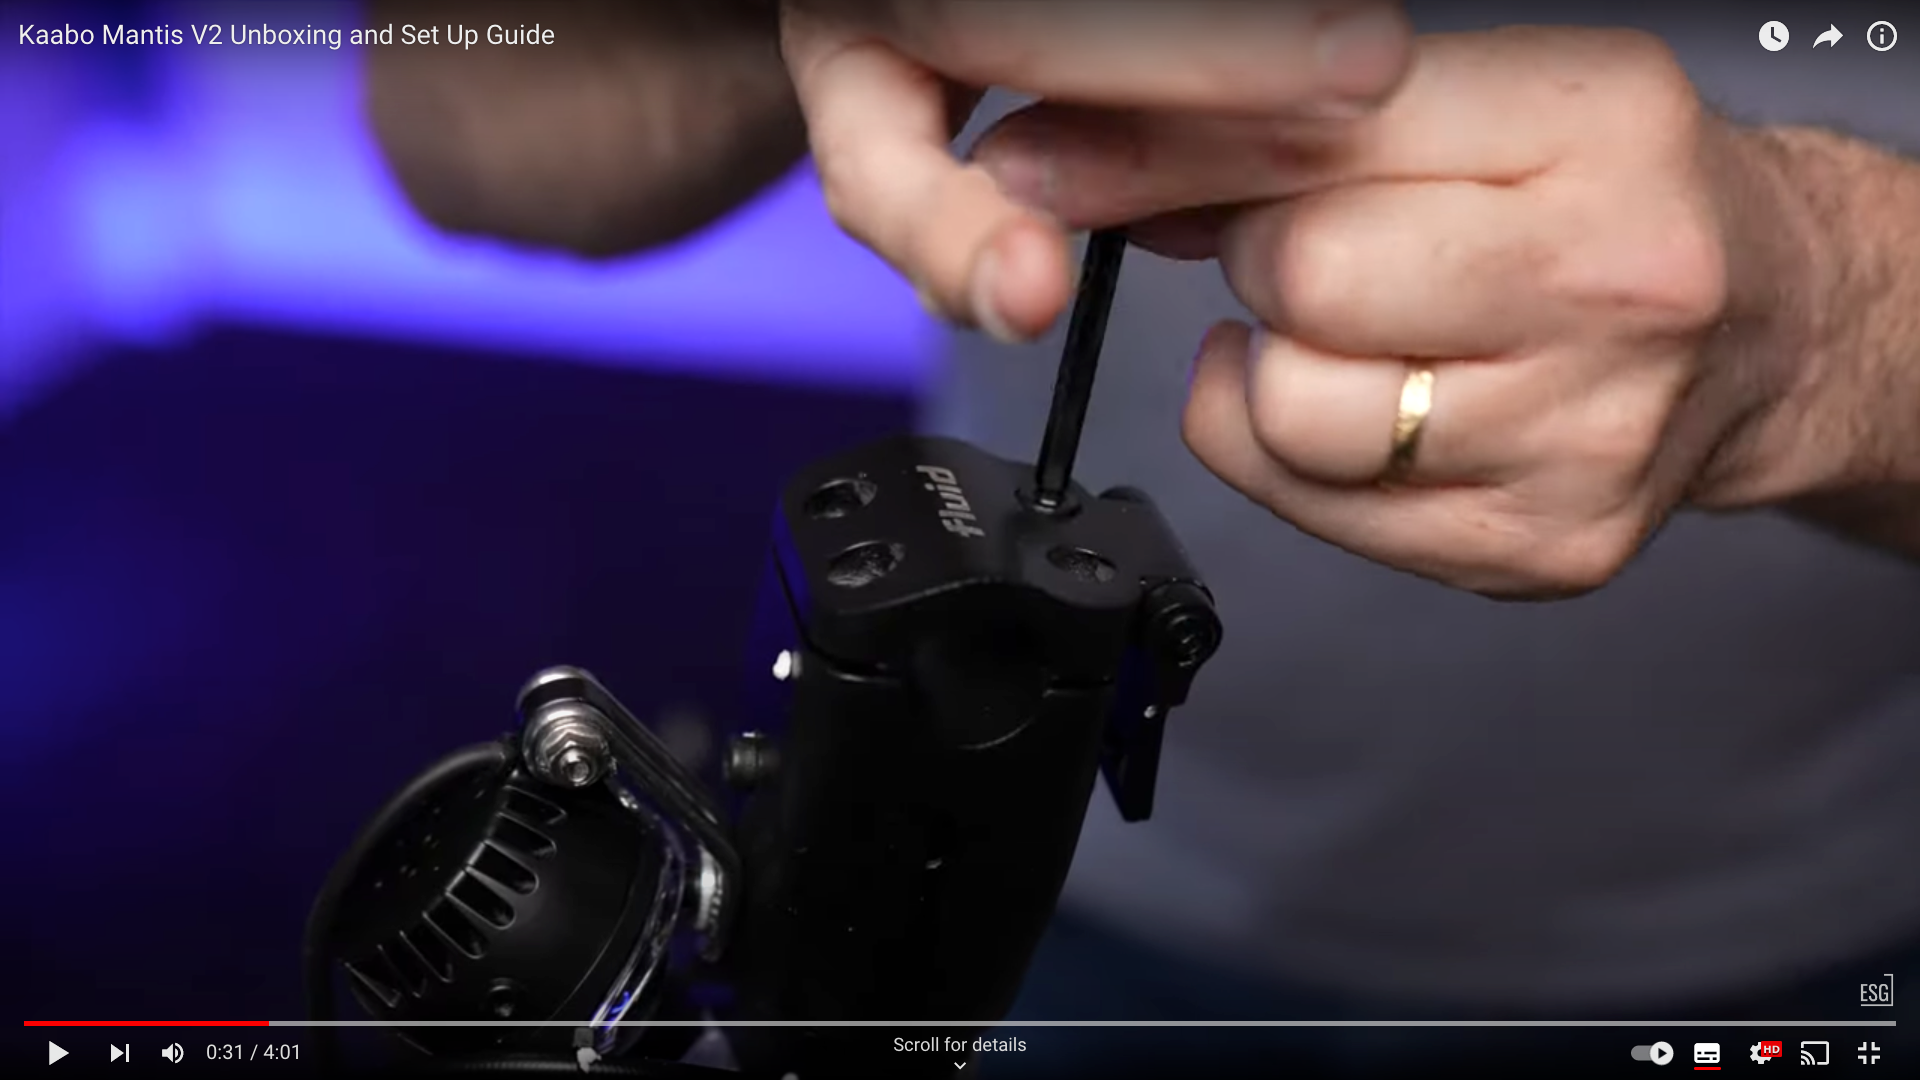
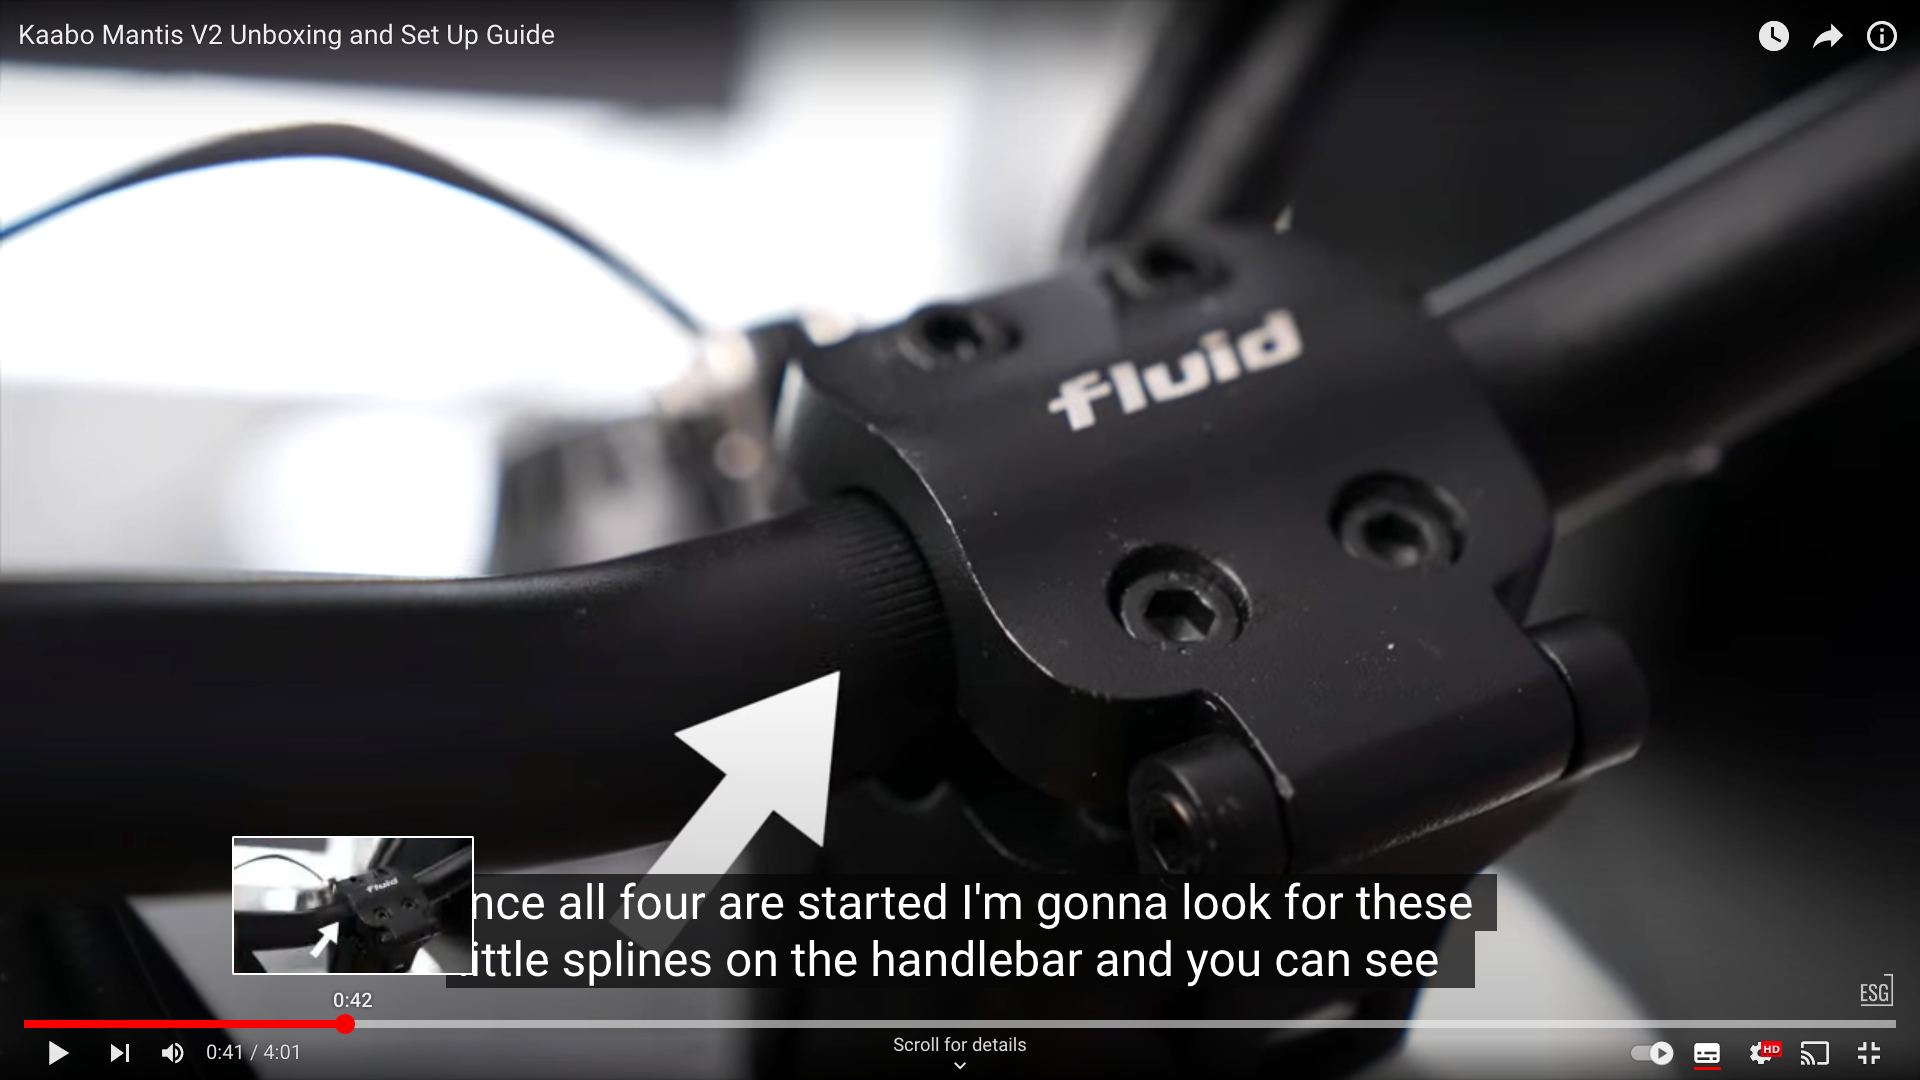
Before you screw them up tight, look for the splines on the handle bar. You should see them sticking out on either side of the stem cover.
If you can’t see splines on both sides of the cover, adjust the handlebars until the splines are central.
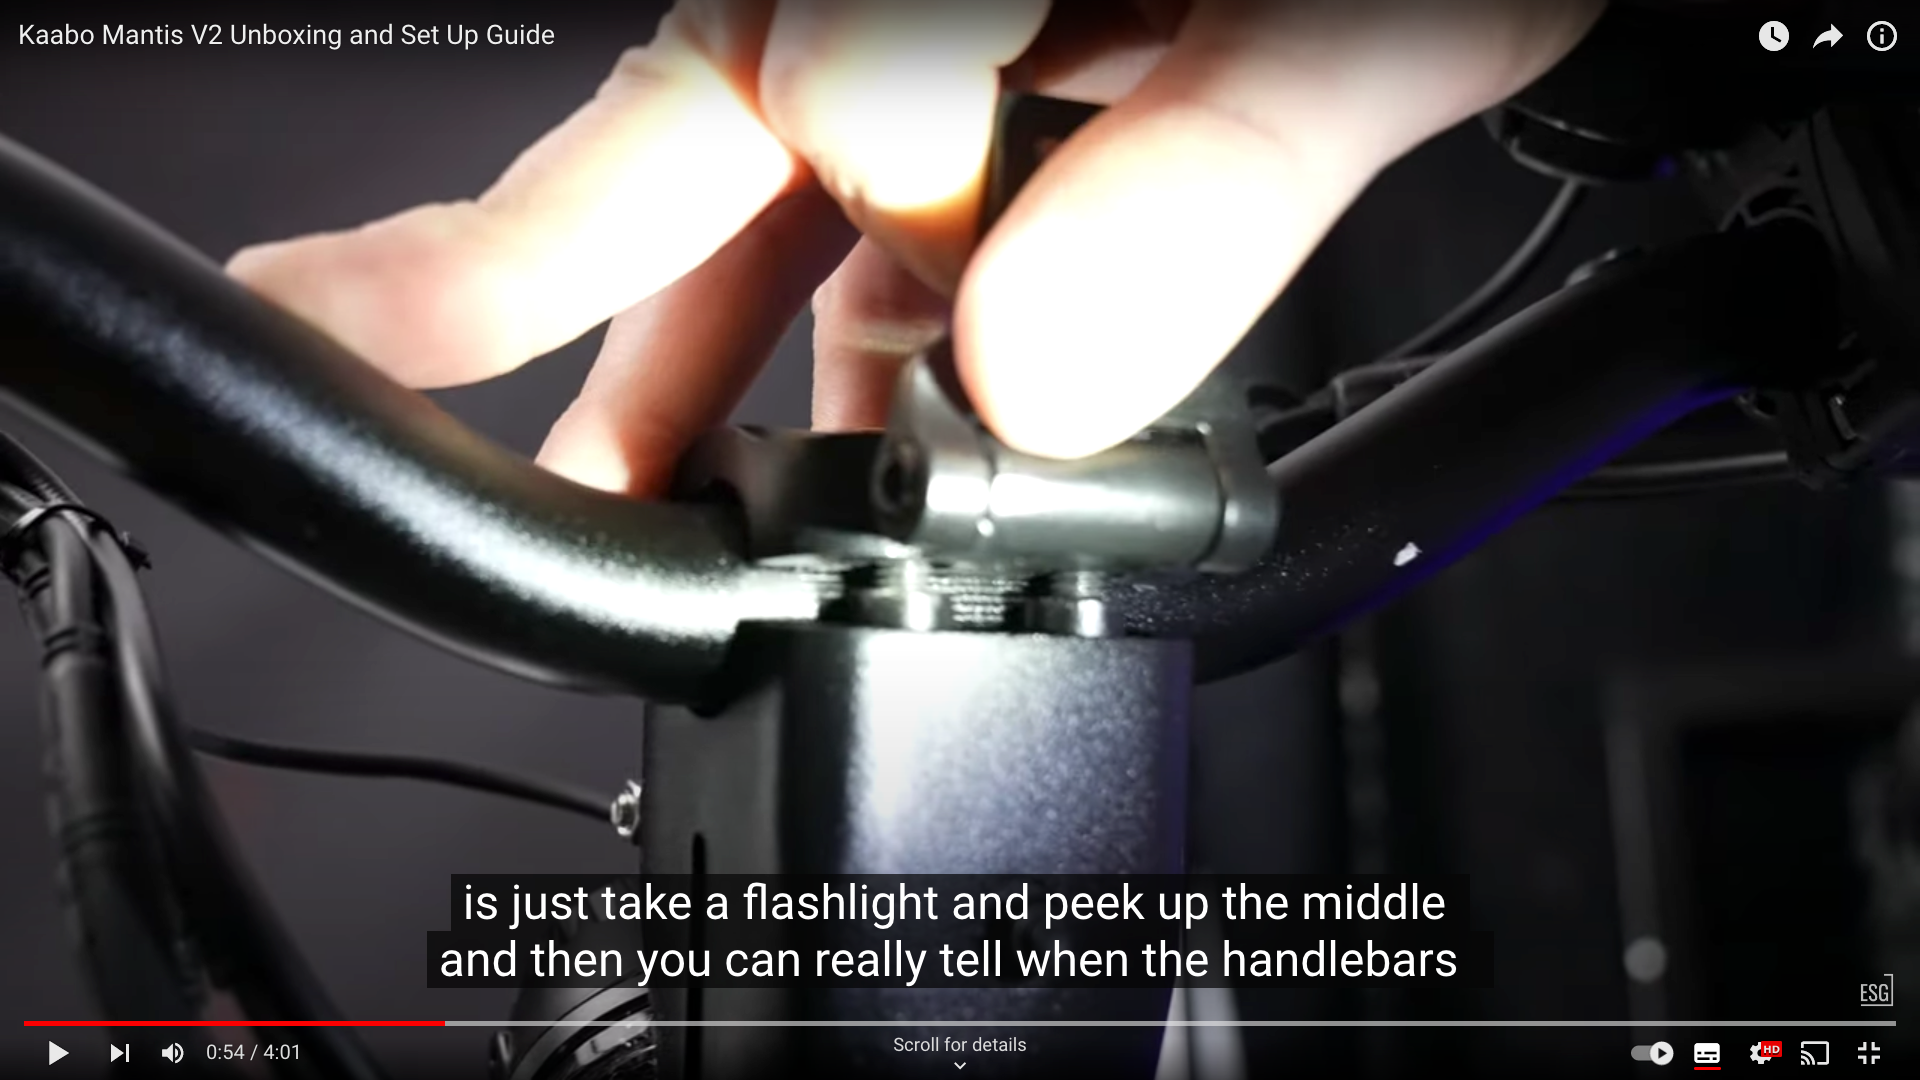
If you’re not sure, take a flashlight and look underneath the cover – the splines on the handlebar should be central, with an equal length sticking out either side of the connection.
Once the handlebars are centered, connect them in snugly – set them where they feel the best FOR YOU and then finally tighten the screws so they’re nice and tight.
Setting up the Controls
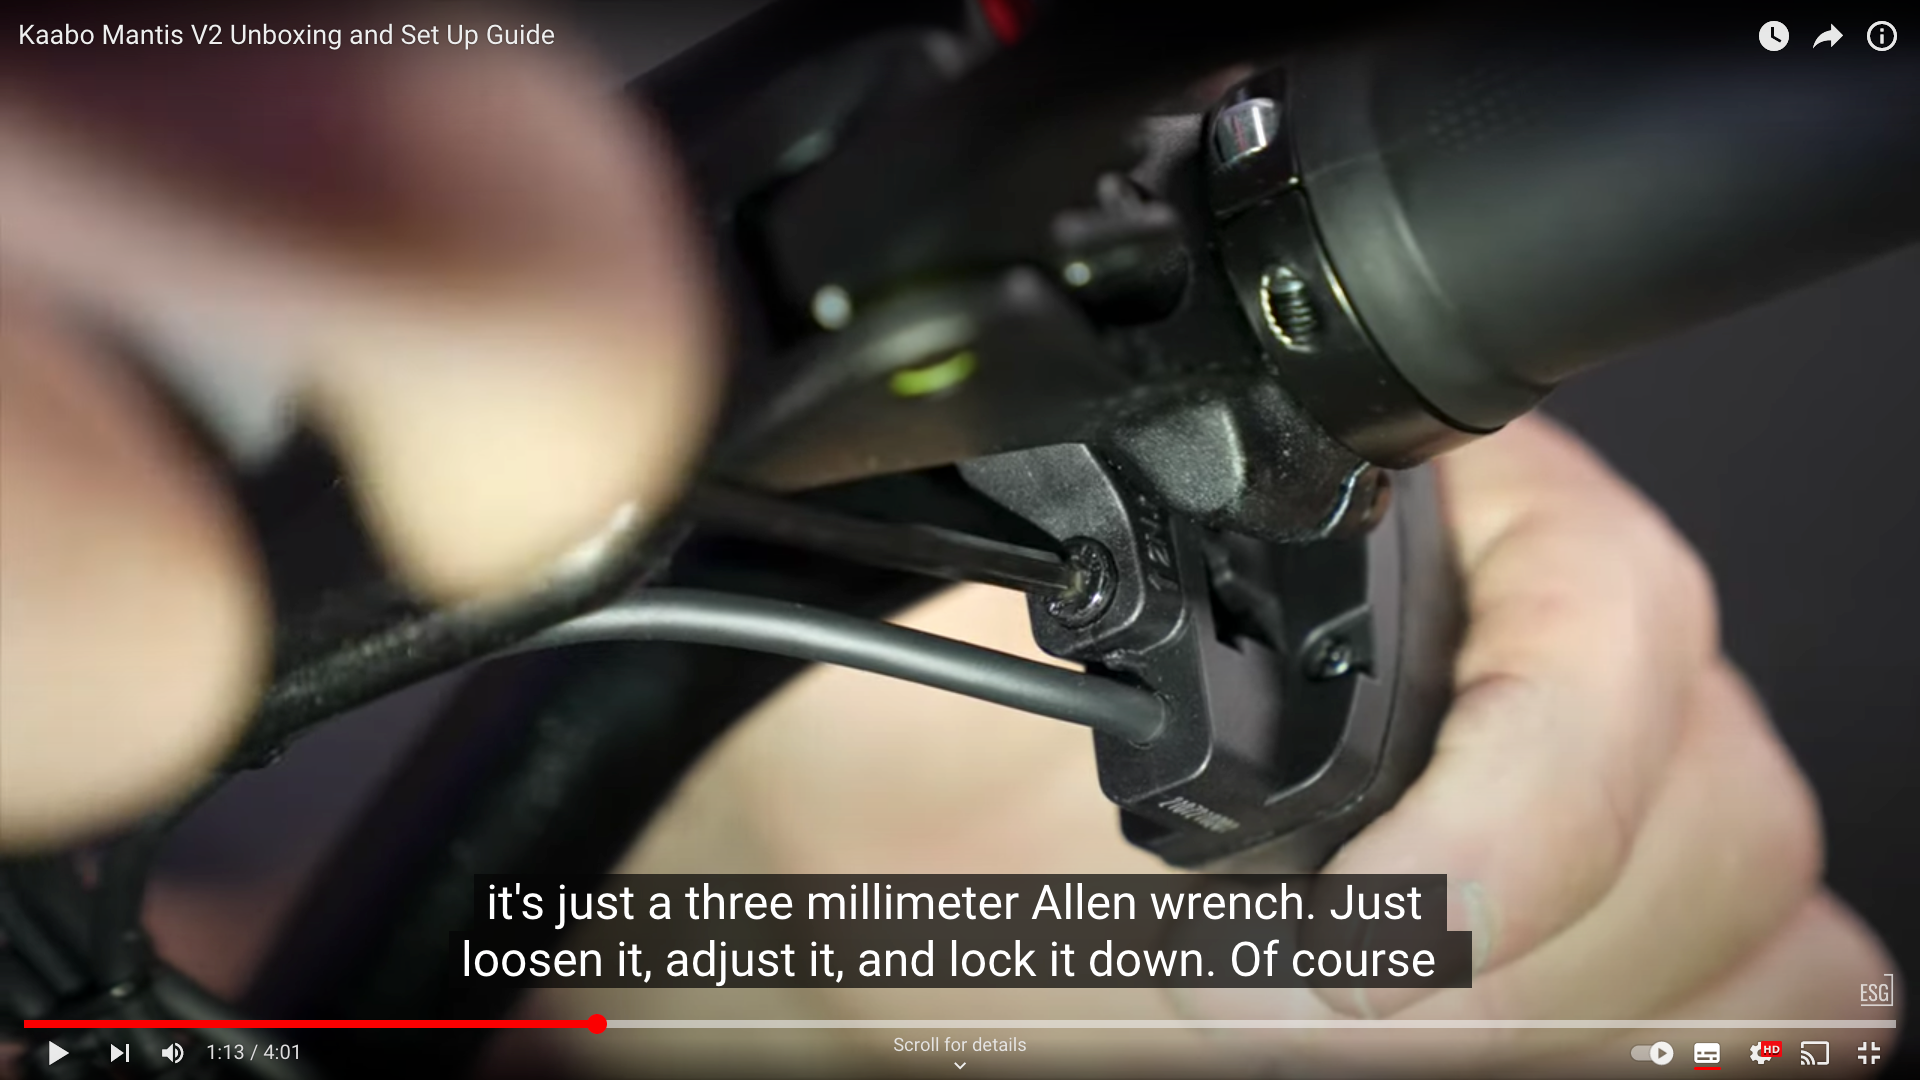
Next, you’re going to set up the controls. Again, these need to be screwed in tight so they’re exactly where you need them to be.
They already come out of the box pretty tight, but if you need to adjust them for your own preferences, use the three millimetre Allen wrench.
The same applies for the eco turbo button and the rest of the handlebar controls.
That said, you’re going to need a four millimeter Allen wrench to adjust the brake lever.
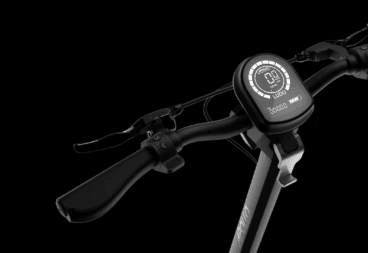
Updated Handlebar Grips
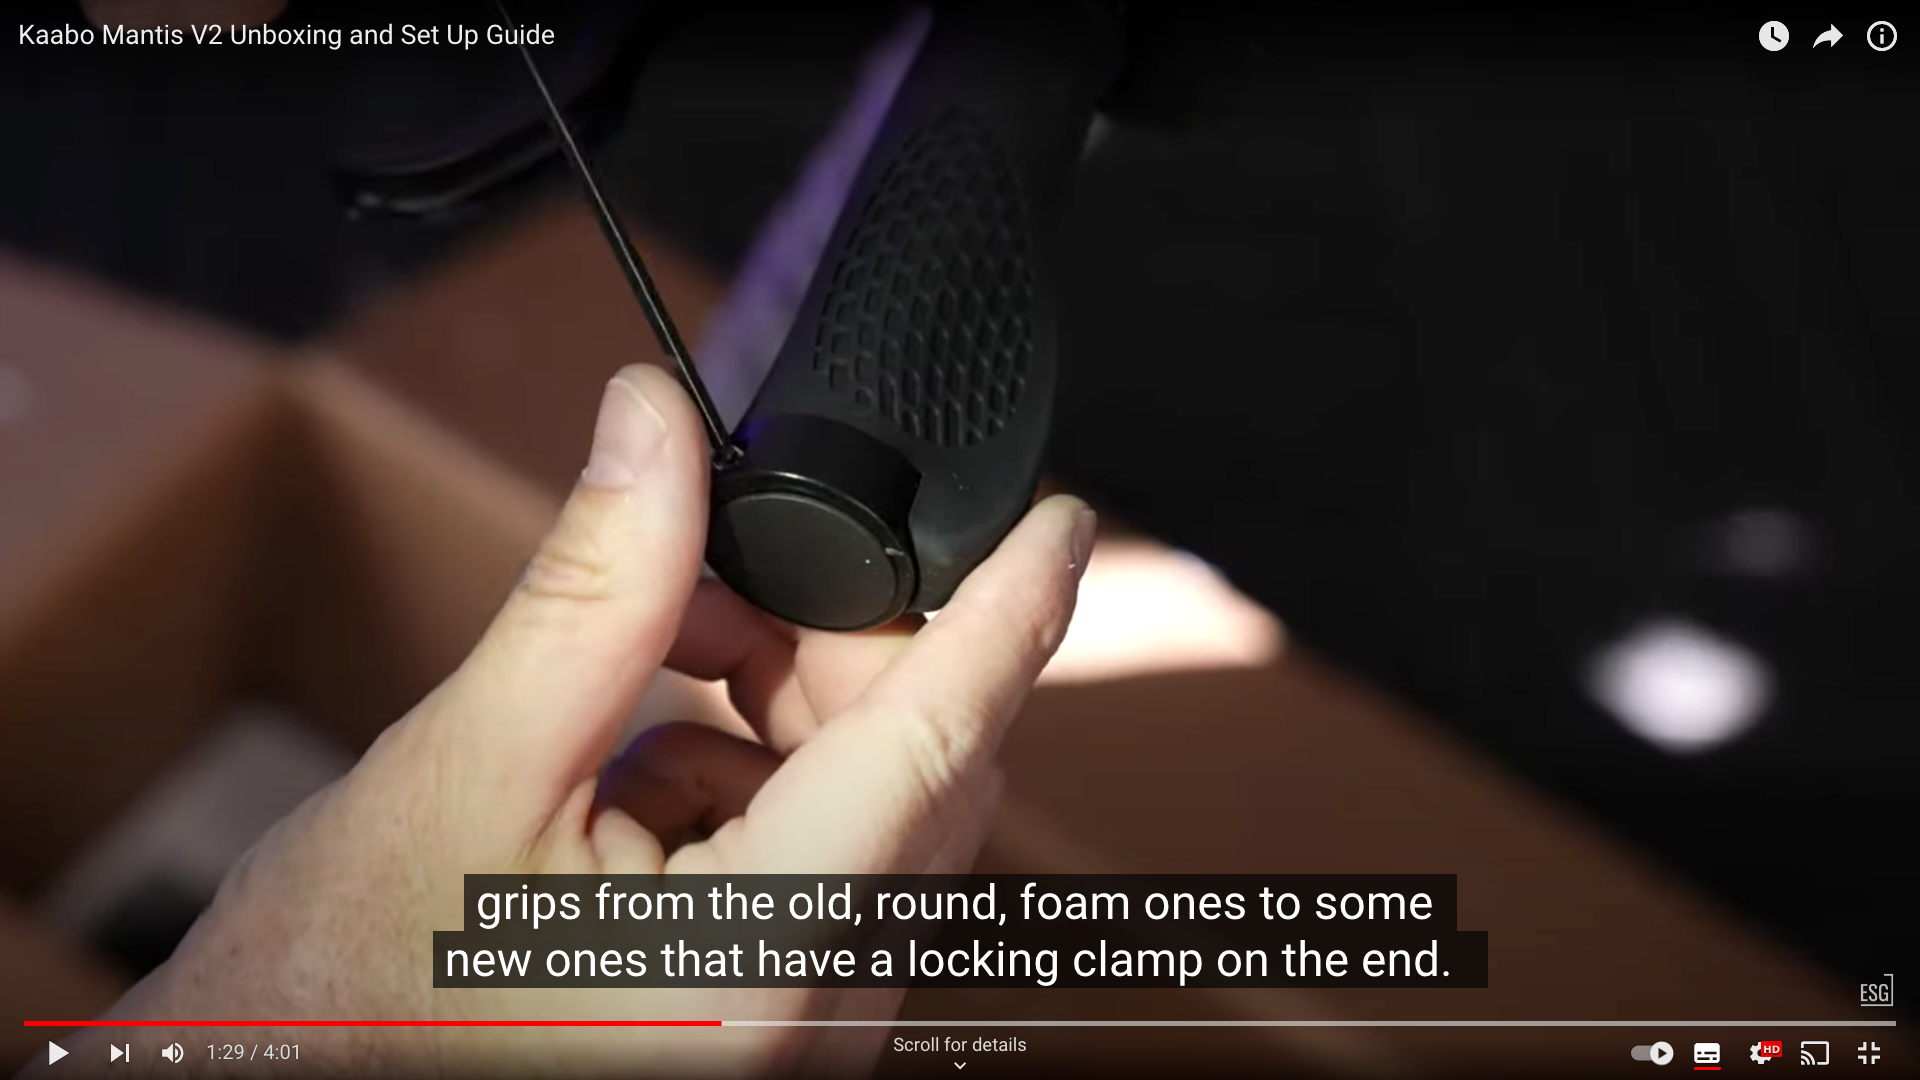
Now here’s a change.
Kaabo have updated the handlebar grips from the old, round, foam ones to some new ones that have a locking clamp on the end.
Adjusting the Headlight
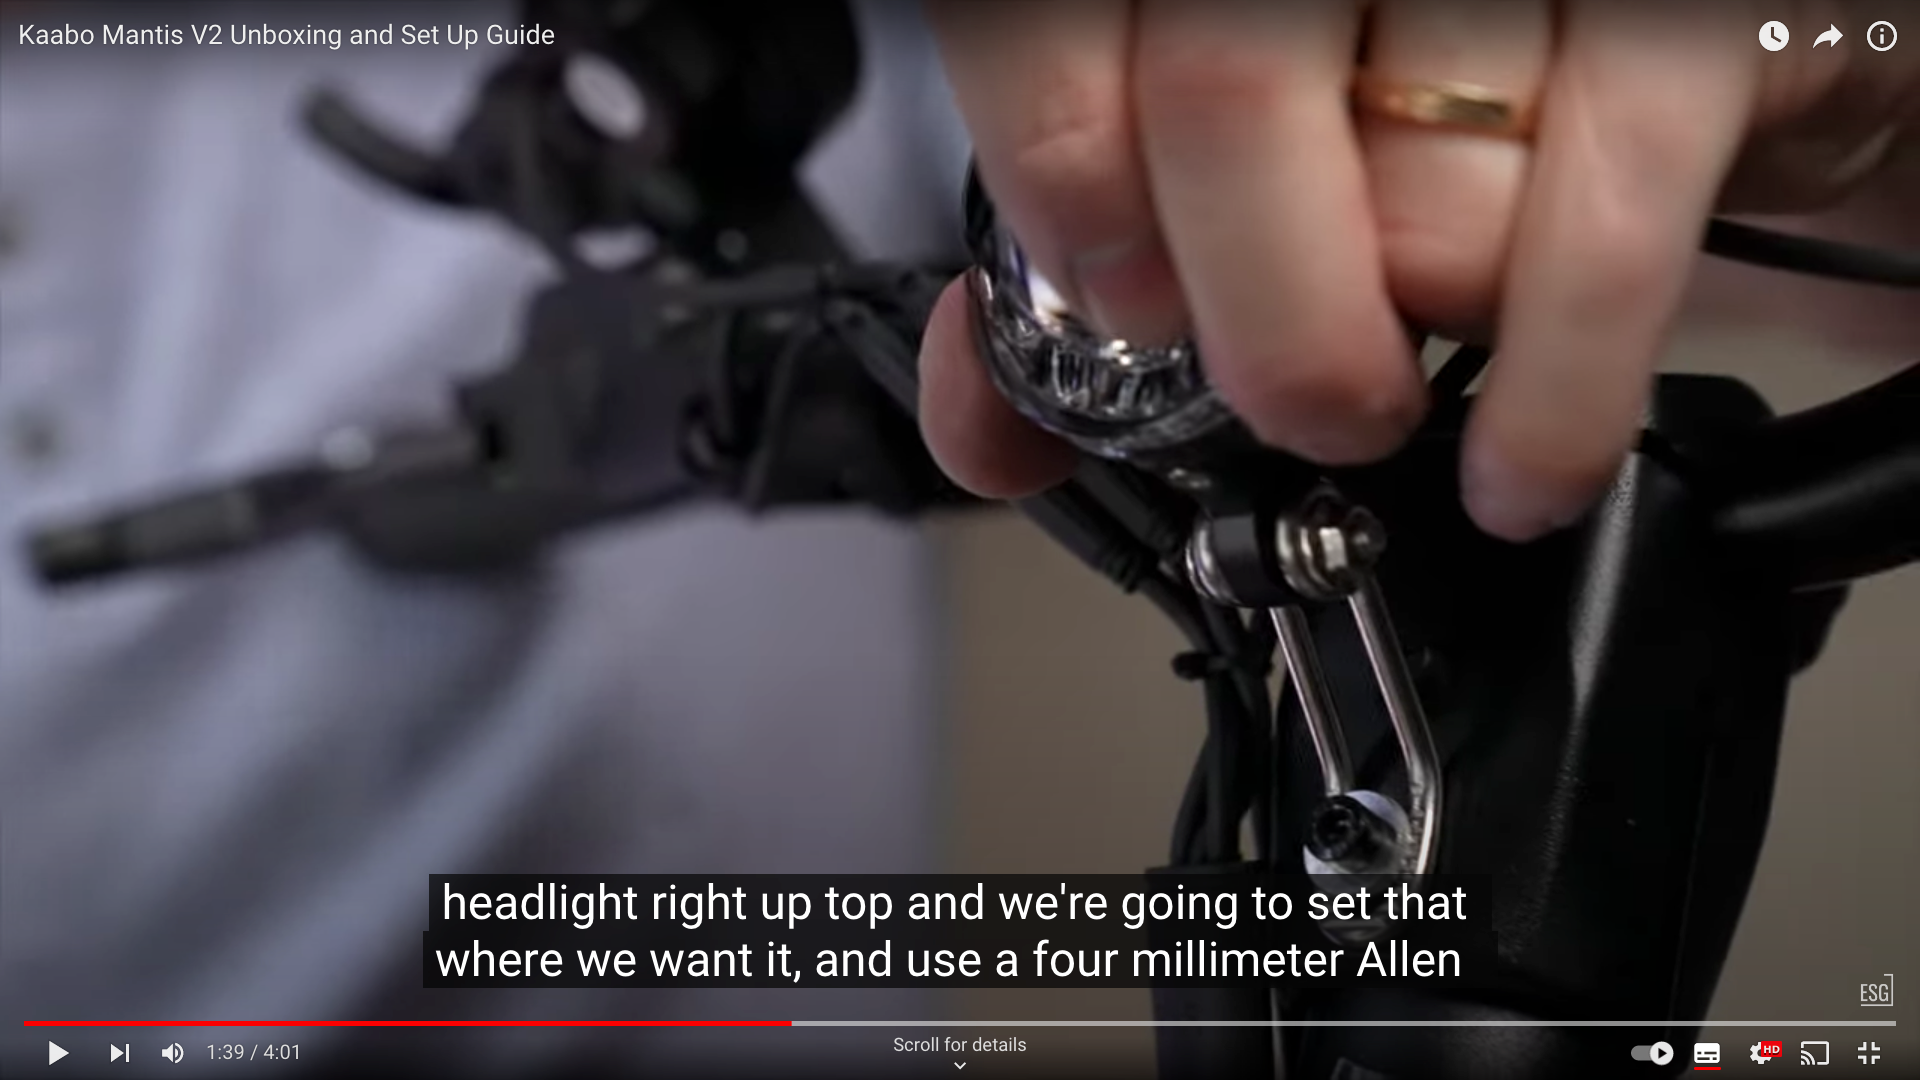
Next you’re going to set up the new headlight.
The Mantis now has a bright headlight on the handlebars. Lift it into position and set it where you want it, then use a four-millimeter Allen wrench to lock it down.
Brakes and Safety
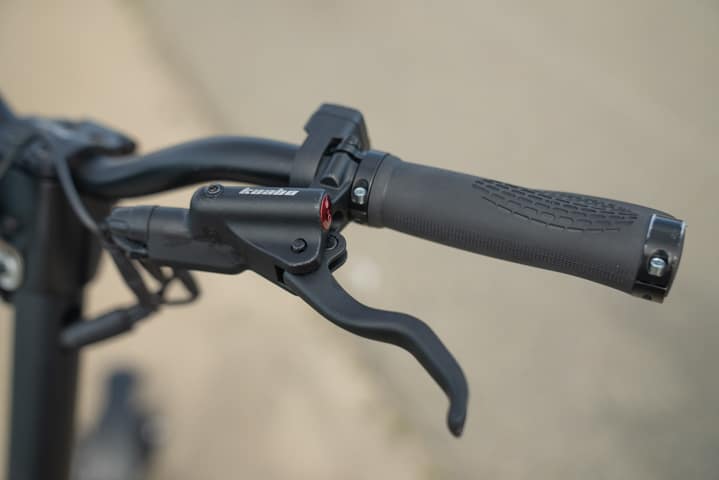
The new version of the Mantis comes with adjustable hydraulic brakes, even on the base model.
Meaning if you want the brake levers further away from the handlebar (if you have big hands), or further in (if you’re smaller), you can set them where you want them with just a couple of turns on a 2-millimeter Allen key.

Bear in mind it’s possible to get this wrong, so don’t go more than two turns in either direction and you’ll be fine.
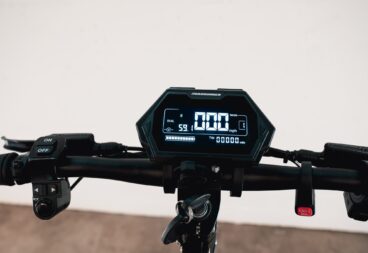
The LT-01 Display
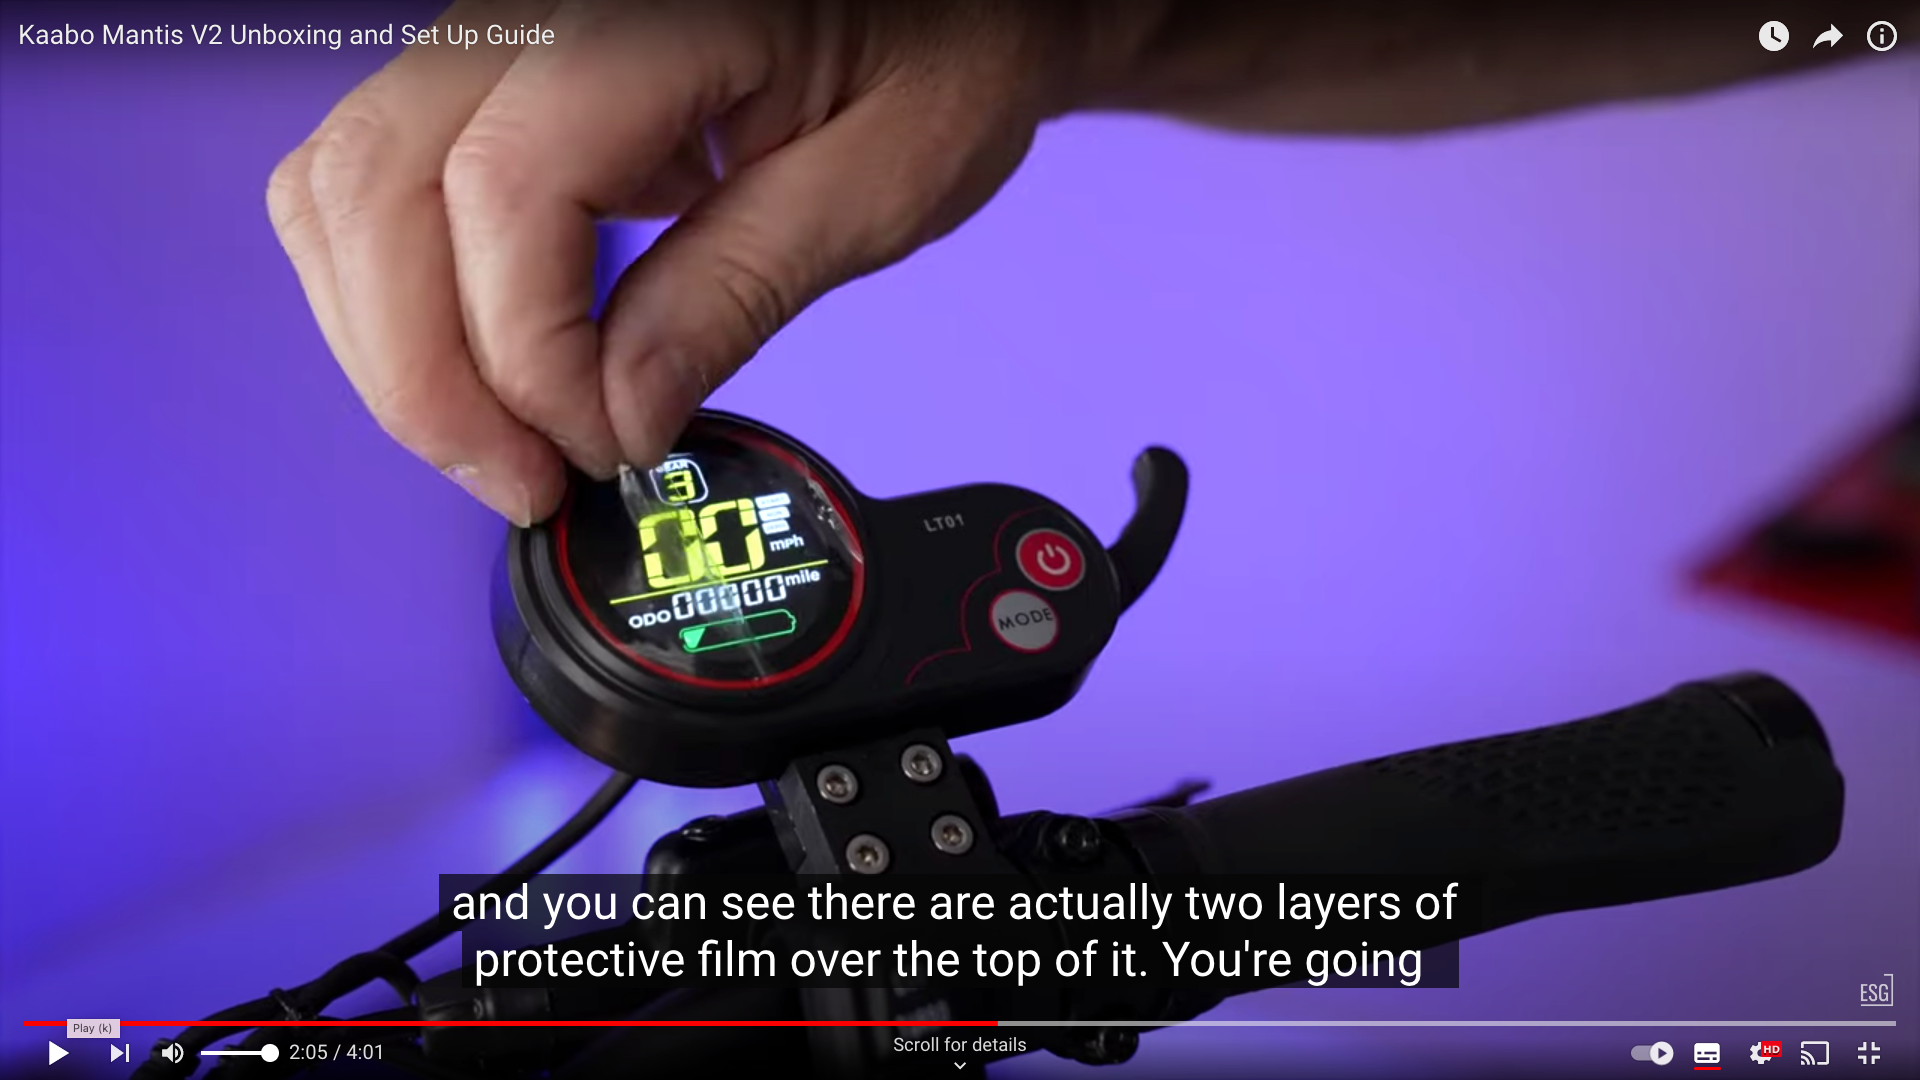
Next, you’re going to turn on the LT-01 display.
You’ll see there are two layers of protective film over the top of it. You’re going to want to take those off because it’s going to make it a lot easier to read the display.
Take Your New Electric Scooter Out of the Box
Now, can take the electric scooter out of the box.
If you don’t have a work stand, we highly recommend this one from Amazon.
Remove the plastic wrapper – it’s easier to just cut it off carefully with a pair of scissors.
Charging the Battery
Before you finish the rest of your set-up, you’re going to want to start charging your new ride.
Simply plug in the charger to the charging port and start giving your battery some juice.
Kaabo Mantis V2 Electric Scooters are Water Resistant
Another big improvement on the new Mantis is that it’s got some waterproofing.
It’s now rated IPX5, where the previous Mantis didn’t have an IP rating at all.
Pumping the Tires
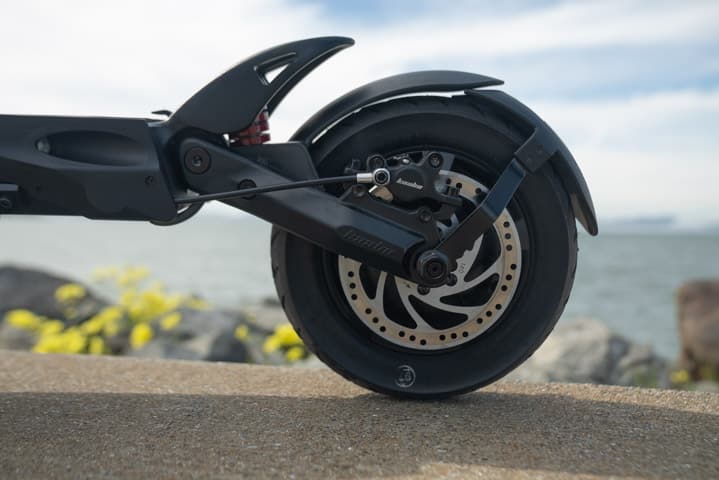
Probably the most important step in setting up your scooter for riding: you’ve got to check the tire pressure.
Set your tires at 45 (psi), front and rear.
Next you’re going to stick the extended fender on. This goes on with four tiny screws; you’re going to need a little screwdriver. We also recommend you use some blue Loctite too.
Then, just give the wheel a quick spin. Check that the rotors are more or less straight and that they’re in the center of the caliper.
A little bit of rubbing is normal, but if there’s a lot you’re going need to do a caliper adjustment.
Setting up the Stem
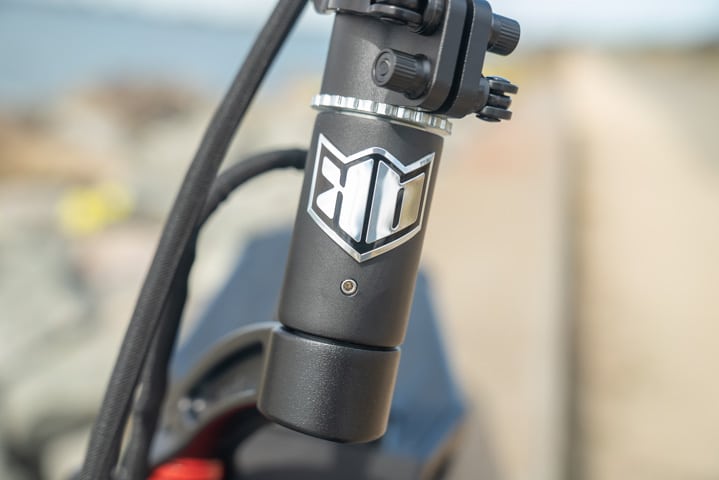
Next, you’re going to make sure your stem is nice and tight before you take your scooter for the inaugural ride.
Tighten one side up a little first, then the other one, and then go back and get the first one tighter.
Don’t forget to stick the Kaabo badge on the stem too!
Adjusting the P-settings
Finally, we recommend leaving the P-settings alone when you’re first getting to know your new scooter.
But when you’re ready, they’re covered pretty well in the manual, and if you need more information, we’ve got a great article about it on the Electric Scooter Guide website.

So, that’s our Kaabo Mantis V2 unboxing and set up guide. We hope you found it useful.
You’re probably chomping at the bit to finish charging your new electric scooter so you can get out and about and start performance testing the Mantis. We won’t keep you any longer!
Don’t forget, when you’re out testing your new Mantis, always wear a helmet.
